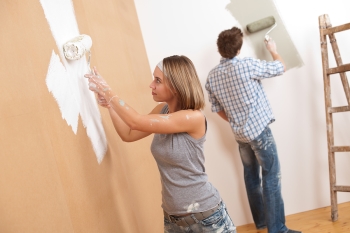
Sometimes, all a space needs to look good again is a fresh coat of paint. If you’re planning to paint one of your rooms and getting ready to head to your local hardware store in San Jose for supplies, then first consider the following advice on how to prepare a wall for painting:
Remove Any Hardware
Before doing anything else, one of the first steps you should take prior to beginning your painting project is to remove anything that you don’t want to get paint on, such as doorknobs and light switches. Bag up each of these items along with their associated pieces and then set them in an out-of-the-way place.
Clean Off Buildup
Although you may not see it, there is a good chance that the wall you want to paint has oil, dust, and other debris on its surface. To help get the most out of your painting efforts and promote better-looking results, wash the wall with water and a mild dishwashing soap.

Smooth the Surface
While you may want to ignore scrapes and nail holes, attempting to paint over these areas will only cause you frustration later. For this reason, before you add any paint, it’s best to take the time now to cover these damaged spots with spackle and then sand them smooth.
Apply Painter’s Tape
Painter’s tape is a valuable tool when it comes to obtaining professional-looking results from your DIY painting efforts. Apply painter’s tape to anything left on the wall that you don’t want to get paint on, such as millwork or baseboards. Also, to help ensure that no paint seeps through the tape’s edges, use a putty knife or similar object to smooth the tape down.
Use a Primer
Before you apply paint to the wall, apply a primer first. Primer can help conceal any imperfections left behind on the wall’s surface, as well as help cover up the original paint color. Lastly, if you’re painting your wall something other than white, then consider using a tinted primer.


